Introduction 00:00
As we saw in the previous lesson, adding lights is as simple as adding meshes. You instantiate a light using the proper class, and you add it to the scene.
There are multiple types of lights, and we already discovered the AmbientLight and the PointLight.
In this lesson, we will see all the different classes in detail and how to use them.
Setup 00:35
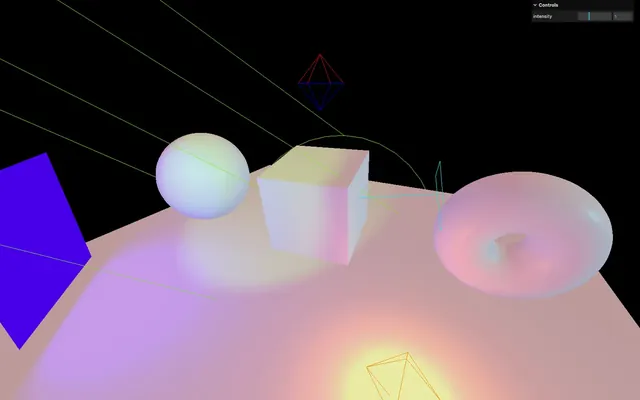
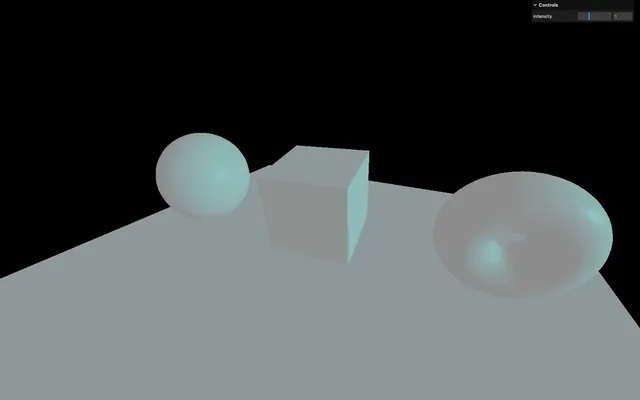
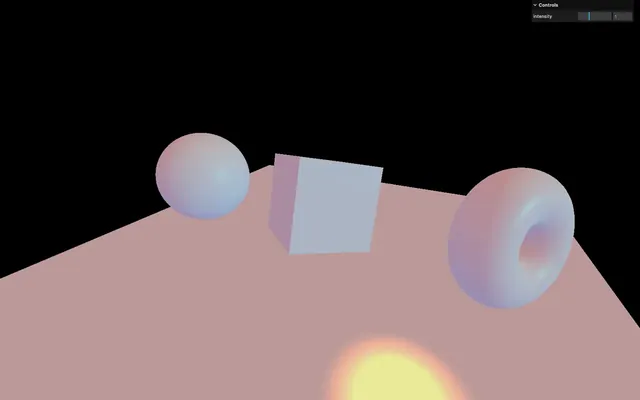
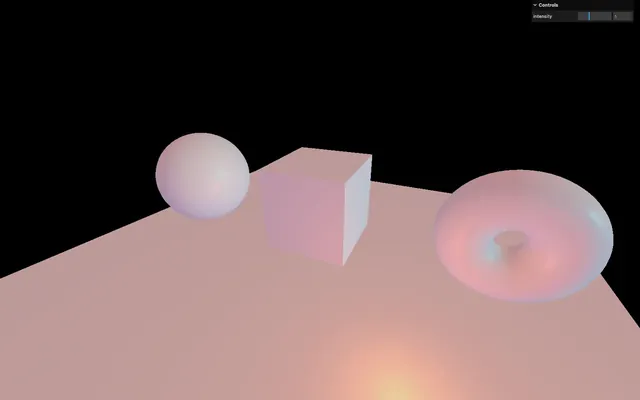
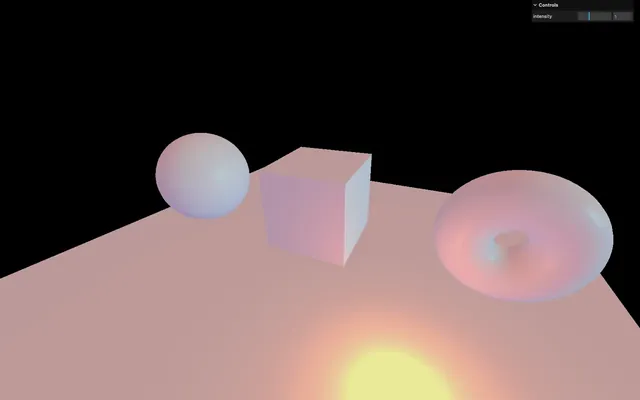
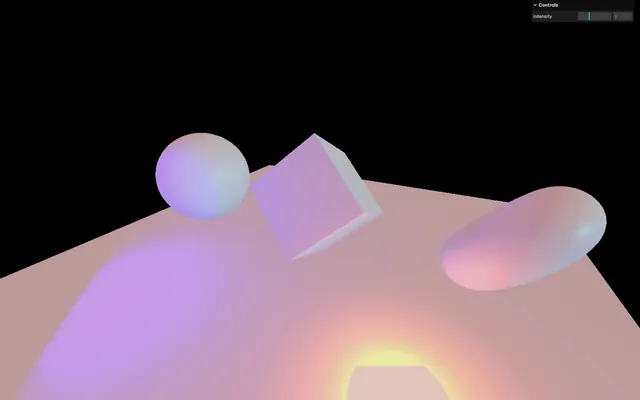
A scene is already set up in the starter (complete with a sphere, a cube, a torus, and a plane as the floor), but feel free to try this yourself if you want to practice.
Because we are going to use lights, we must use a material that reacts to lights. We could have used MeshLambertMaterial, MeshPhongMaterial or MeshToonMaterial, but instead we will use the MeshStandardMaterial because it's the most realistic one as we saw in the previous lesson. We also reduced the roughness of the material to 0.4 to see the reflections of the lights.

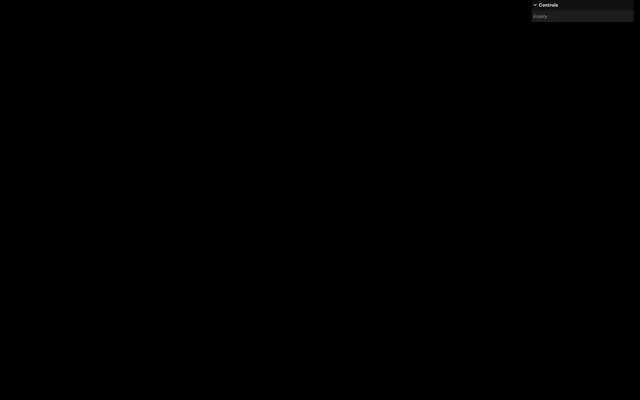
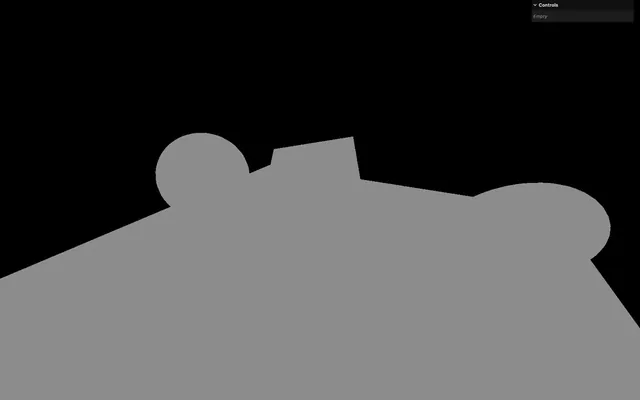
Once the starter is working remove the AmbientLight and the PointLight to start from scratch. You should get a black render with nothing visible in it:
We are now going to discover the main lights available in Three.js, starting with the one we’ve just removed.
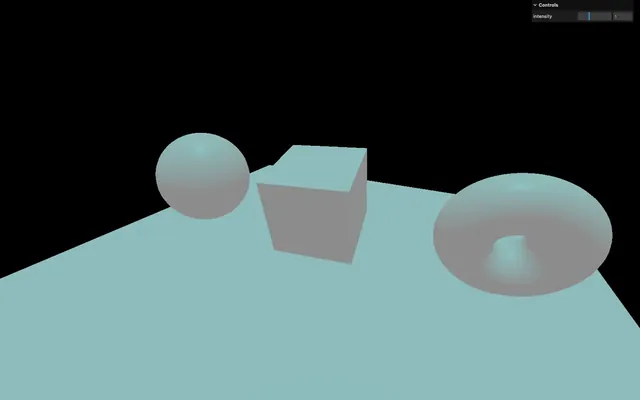
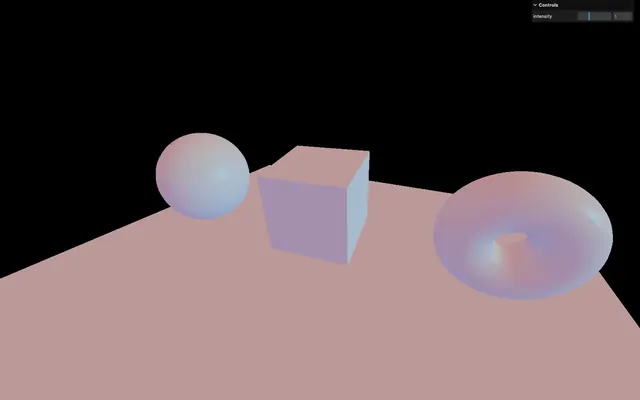
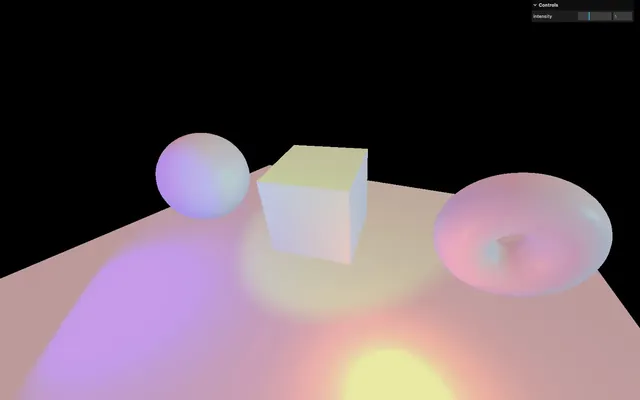
AmbientLight 01:40
The AmbientLight applies omnidirectional lighting on all geometries of the scene. The first parameter is the color and the second parameter is the intensity. As for the materials, you can set the properties directly while instantiating the AmbientLight class:
// Ambient light
const ambientLight = new THREE.AmbientLight(0xffffff, 1)
scene.add(ambientLight)

Or you can change those parameters after as properties (color and intensity in our case):
// Ambient light
const ambientLight = new THREE.AmbientLight()
ambientLight.color = new THREE.Color(0xffffff)
ambientLight.intensity = 1
scene.add(ambientLight)
We get the same result.
Note that we had to instantiate a Color when we updated the color property.
And like we did for the materials, you can add the properties to the Debug UI. We won't do that in the rest of the lesson but feel free to add tweaks if you want to ease the testing:
gui.add(ambientLight, 'intensity').min(0).max(3).step(0.001)
If all you have is an AmbientLight, you'll have the same effect as for a MeshBasicMaterial because all faces of the geometries will be lit equally.
In real life, when you light up an object, the sides of the objects at the opposite of the light won't be totally black because light bounces on the walls and other objects. Light bouncing is not supported in Three.js for performance reasons, but you can use a dim AmbientLight to fake this light bounce.
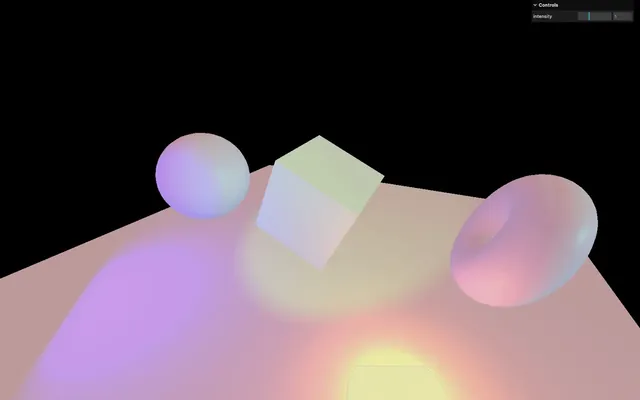
DirectionalLight 07:39
The DirectionalLight will have a sun-like effect as if the sun rays were traveling in parallel. The first parameter is the color and the second parameter is the intensity:
// Directional light
const directionalLight = new THREE.DirectionalLight(0x00fffc, 0.9)
scene.add(directionalLight)
By default, the light will seem to come from above. To change that, you must move the whole light by using the position property like if it were a common Three.js object.
directionalLight.position.set(1, 0.25, 0)
The distance of the light doesn't matter for now. The rays come from an infinite space and travel in parallel to the infinite opposite.
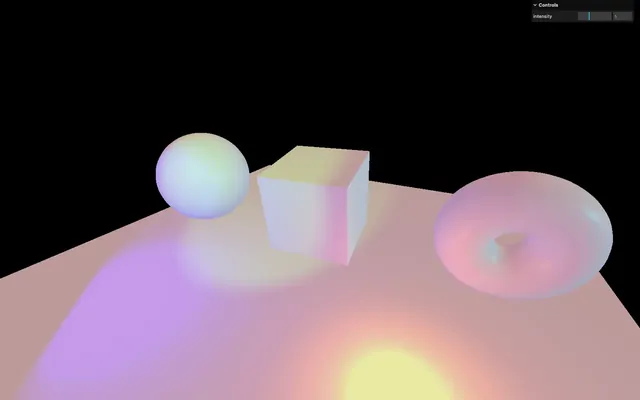
HemisphereLight 11:50
The HemisphereLight is similar to the AmbientLight but with a different color from the sky than the color coming from the ground. Faces facing the sky will be lit by one color while another color will lit faces facing the ground.
The first parameter is the color corresponding to the sky color, the second parameter is the groundColor and the third parameter is the intensity:
// Hemisphere light
const hemisphereLight = new THREE.HemisphereLight(0xff0000, 0x0000ff, 0.9)
scene.add(hemisphereLight)
PointLight 14:45
The PointLight is almost like a lighter. The light source is infinitely small, and the light spreads uniformly in every direction. The first parameter is the color and the second parameter is the intensity:
// Point light
const pointLight = new THREE.PointLight(0xff9000, 1.5)
scene.add(pointLight)
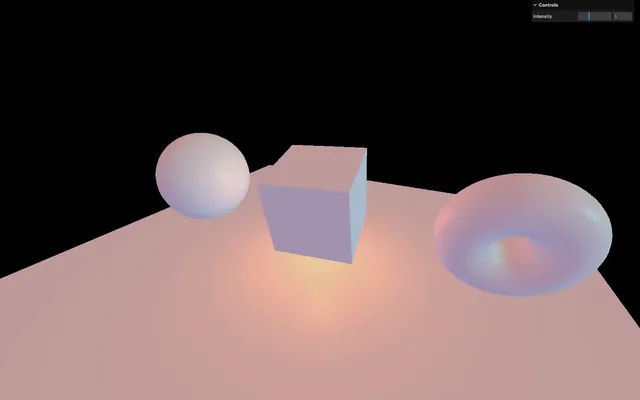
We can move it like any object:
pointLight.position.set(1, - 0.5, 1)
For a realistic result, we usually only play with the intensity parameter of the light, but we actually have more control thanks to two more parameters.
The first one is the distance. Its default value is 0, meaning that the distance is actually infinite.
Try setting it to 0.5:
const pointLight = new THREE.PointLight(0xff9000, 1.5, 0.5)
The light looks quite similar, but the intensity drops down drastically when getting close to the 0.5 distance threshold.
Let’s put back 0 for an infinite distance:
const pointLight = new THREE.PointLight(0xff9000, 1.5, 0)The next parameter is the decay.
The lower the decay, the faster the light will decay.
The default value is 2. Try setting it to 0.5:
const pointLight = new THREE.PointLight(0xff9000, 1.5, 0, 0.5)
The light dims faster.
But for a realistic and physically based result, you’d rather keep the default value. Let’s put it back to 2:
const pointLight = new THREE.PointLight(0xff9000, 1.5, 0, 2)
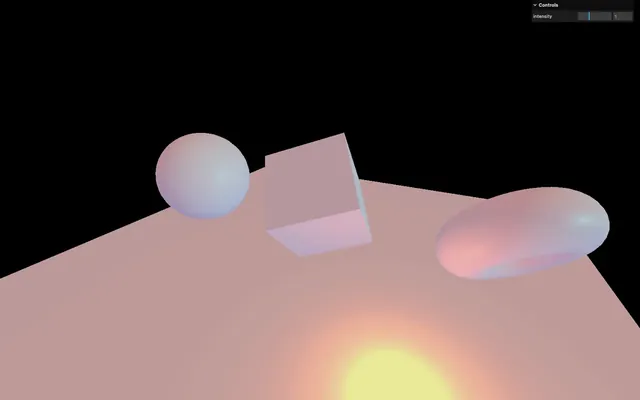
RectAreaLight 19:12
The RectAreaLight works like the big rectangle lights you can see on the photoshoot set. It's a mix between a directional light and a diffuse light. The first parameter is the color, the second parameter is the intensity, the third parameter is width of the rectangle, and the fourth parameter is its height:
// React area light
const rectAreaLight = new THREE.RectAreaLight(0x4e00ff, 6, 1, 1)
scene.add(rectAreaLight)
The RectAreaLight only works with MeshStandardMaterial and MeshPhysicalMaterial.
You can then move the light and rotate it. To ease the rotation, you can use the lookAt(...) method that we saw in a previous lesson:
rectAreaLight.position.set(- 1.5, 0, 1.5)
rectAreaLight.lookAt(new THREE.Vector3())
A Vector3 without any parameter will have its x, y, and z to 0 (the center of the scene).
SpotLight 24:28
The SpotLight works like a flashlight. It's a cone of light starting at a point and oriented in a direction. Here the list of its parameters:
color: the colorintensity: the strengthdistance: the distance at which the intensity drops to0angle: how large is the beampenumbra: how diffused is the contour of the beamdecay: how fast the light dims
// Spot light
const spotLight = new THREE.SpotLight(0x78ff00, 4.5, 10, Math.PI * 0.1, 0.25, 1)
spotLight.position.set(0, 2, 3)
scene.add(spotLight)
Rotating our SpotLight is a little harder. The instance has a property named target, which is an Object3D. The SpotLight is always looking at that target object. But if you try to change its position, the SpotLight won't budge:
spotLight.target.position.x = - 0.75
This is a weird but a justified behaviour in Three.js.
The position, along the rotation and scale, are compiled into what we call a transform matrix. This transform matrix is what really matters at the end. Sounds complicated? Fortunately, we don’t have to deal with that and Three.js does it for us. But Three.js does it only to objects that are in the scene. Why bother with objects that are not even there?
That’s why we need to add this spotLight.target in our scene, even though it’s an empty object:
scene.add(spotLight.target)
And now the light has turned on the left.
Performance 31:51
Lights are great and can be realistic if well used. The problem is that lights can cost a lot when it comes to performance. The GPU will have to do many calculations like the distance from the face to the light, how much that face is facing the light, if the face is in the spot light cone, etc.
Try to add as few lights as possible and try to use the lights that cost less.
Minimal cost:
- AmbientLight
- HemisphereLight
Moderate cost:
- DirectionalLight
- PointLight
High cost:
- SpotLight
- RectAreaLight
Baking 33:13
A good technique for lighting is called baking. The idea is that you bake the light into the texture. This can be done in a 3D software. The downside is that, once the lighting is baked, we can't move the lights, because there are none and you'll probably need a lot of textures.
A good example is Three.js Journey home page
Good news, you’ll learn how to bake a scene in the Portal chapter.
Helpers 35:22
Positioning and orienting the lights is hard. To assist us, we can use helpers. Only the following helpers are supported:
To use them, simply instantiate those classes. Use the corresponding light as a parameter, and add them to the scene. The second parameter enables you to change the helper's size:
const hemisphereLightHelper = new THREE.HemisphereLightHelper(hemisphereLight, 0.2)
scene.add(hemisphereLightHelper)

const directionalLightHelper = new THREE.DirectionalLightHelper(directionalLight, 0.2)
scene.add(directionalLightHelper)

const pointLightHelper = new THREE.PointLightHelper(pointLight, 0.2)
scene.add(pointLightHelper)

const spotLightHelper = new THREE.SpotLightHelper(spotLight)
scene.add(spotLightHelper)

The RectAreaLightHelper is a little harder to use. Right now, the class isn't part of the THREE core variables. You must import it from the examples dependencies as we did with OrbitControls:
import { RectAreaLightHelper } from 'three/examples/jsm/helpers/RectAreaLightHelper.js'Then you can use it:
const rectAreaLightHelper = new RectAreaLightHelper(rectAreaLight)
scene.add(rectAreaLightHelper)